Free Very Pink Toe Up Sock Pattern
Knitting Tutorial - The Black Squirrel's Favorite Toe-Up Sock Recipe
So you want to learn to knit toe-up socks? Then you've come to the right place! We've tried them all, made all the mistakes, and found our favorite combination of techniques for an easy, enjoyable, and well-fitting sock. Below is the full tutorial, including links to the best tutorials we've found for all the stitches you need to know. We hope you enjoy making our sock recipe!
If you'd like to download a printable PDF version of this tutorial, click here.
Supplies Needed:
A tapestry needle
A 100g skein of fingering weight yarn
A set of 5 DPN's in a size needed to obtain the gauge of 7 stitches per inch on your chosen yarn. It's good to have US sizes 0-3 on hand for sock knitting, because sock yarns can vary in thickness.
Step One: Measure Your Feet! We only need to write down a few measurements for this simple sock pattern:
-
The circumference of the center (arch) of your foot, to determine what pattern size to knit.
-
The length of the sole of your foot, starting from the center back of your heel across to the tip of your big toe.
-
The desired length of the top of your sock. Most are about 6 inches, but you may want them longer if you plan on wearing them with boots, or super short for wearing with sneakers.

Step Two: Knit a Swatch! Swatching is a very important part of any fitted knitting project, and it will save you a lot of headaches. Our pattern calls for using approximately US Size 1.5 DPN's, but you may find that depending on your particular yarn and knitting style you may need to go up or down a needle size. Our desired gauge is 7 stitches per inch. To make your swatch:
-
Cast on 15-20 stitches and work stockinette for 2-3 inches, until you can easily measure your stitches. No need to bind off, and no need to swatch in the round.
-
Lay the swatch flat without stretching it and measure how many stitches are in an inch.
-
If you have fewer than 7 stitches per inch, you'll need to go down a needle size and re-swatch.
-
If you have more than 7 stitches in an inch, you'll need to go up a needle size and re-swatch.
Step Three: Cast On with Judy's Magic Cast-On! Here's the link: http://knitty.com/ISSUEspring06/FEATmagiccaston.html
-
Unravel your swatch and start your cast-on with the DPN's that got you the right gauge. Make sure not to do it too tightly.
-
Cast on as shown in the tutorial until you have 32 stitches. (16 stitches on each needle.)

Step Four : Begin Toe Increases! You'll be using a "knit front and back" stitch (kfb) to make your sock big enough to fit your foot circumference. To learn how make a kfb, check this link out: https://www.allfreeknitting.com/video-basics/How-to-Knit-the-KFB-Increase
Sizes listed below are Small for foot circumferences of about 7.5 inches, (Medium) for 8 inches, and (Large) for 9 inches.
To start, knit all stitches for one round, then begin the increase pattern:
Round 1: *K1, kfb, knit until 2 stitches remain on the needle, kfb, K1; repeat from * on second needle.
Round 2: Knit all stitches.
Repeat these two rounds until the total number of stitches on both needles equals 52 (56, 64) stitches. (26 (28, 32) on each needle.)
At some point, to help you keep track, place a marker to designate the beginning of the round. We often pull the cast-on tail from the inside up between the needles, leaving the tail hanging out as a marker as shown in the photo above. You can pull it back out to weave in when you're done knitting the sock.
Step Five: Knit the Foot! You're now at the point where you need to add more DPN's:
-
Knit half of the stitches of the first needle onto one DPN, then switch to another DPN for the second half of the stitches. Repeat with the second needle. You'll now have 4 needles holding all your stitches, and one free (working) needle.
-
You'll have 13 (14, 16) stitches on each needle.
-
For the rest of the foot, simply knit stockinette (knit every stitch) each round until the sock measures 2.5 inches less than your foot length measurement from step one.

Step Six: Gusset Increases! The gusset is a series of increases along the sides of the sock to create enough fabric to cover the thick place where your foot meets your ankle. The gusset & turn combination we show here is called a Fleegle Heel. We love it because it's easy and very comfortable on all shapes of heels and ankles.
Round 1: On needles 1 and 2 (these stitches make the top of the foot of the sock), continue to work in stockinette (knit all stitches) as before.
On needle 3, K1, kfb, then knit to needle 4.
On needle 4, knit until 2 stitches remain, kfb, K1.
Round 2: Knit all stitches.
Continue to repeat rounds 1 and 2 until there are 44 (48, 56) stitches collectively on needles 3 and 4 (22 (24, 28) per needle).
Don't forget to do that last round of plain knitting (Round 2) to finish the entire repeat.
Step Seven: Turning the Heel! Here is where the magic happens: we'll be decreasing back down to our original stitch count at a different angle to form the heel of the sock. You'll be using the "slip, slip, knit" (ssk) and "purl two together" (p2tog) stitches to decrease, and a slip purlwise stitch (slip) to keep your edges tidy. To learn how do them, check out these links: https://blog.tincanknits.com/2013/10/03/ssk/ https://blog.tincanknits.com/2013/08/17/p2tog/ https://www.makingthingsapp.com/tutorials/sl1-purlwise
-
This section is worked back and forth, ONLY on needles 3 and 4. That's why it's written as rows instead of rounds, and why there is a right side (RS) and a wrong side (WS). Right side means the outside (knit side) of the sock is facing you, and you are knitting, not purling.
-
At first, you'll knit all of needle 3 and then a few stitches off of needle 4, then turn the work and go back the way you came. Just follow the pattern carefully until it starts to make sense.
Row 1 (RS): K 25 (27, 31), SSK, K1, turn.
Row 2 (WS): Slip 1, P7, P2tog, P1, turn.
Row 3: Slip 1, K8, SSK, K1, turn.
Row 4: Slip 1, P9, P2tog, P1, turn.
Row 5: Slip 1, K10, SSK, K1, turn.
Row 6: Slip 1, P11, P2tog, P1, turn.
At this point you should be able to see the pattern without counting: we are knitting or purling the stitch before the turning gap together with the stitch on the other side of the gap, then working one more stitch and turning. Don't forget to slip the first stitch of every row.
Continue in this manner until all the stitches are worked and you again have 26 (28, 32) stitches collectively between needles 3 and 4 (13 (14, 16) per needle).

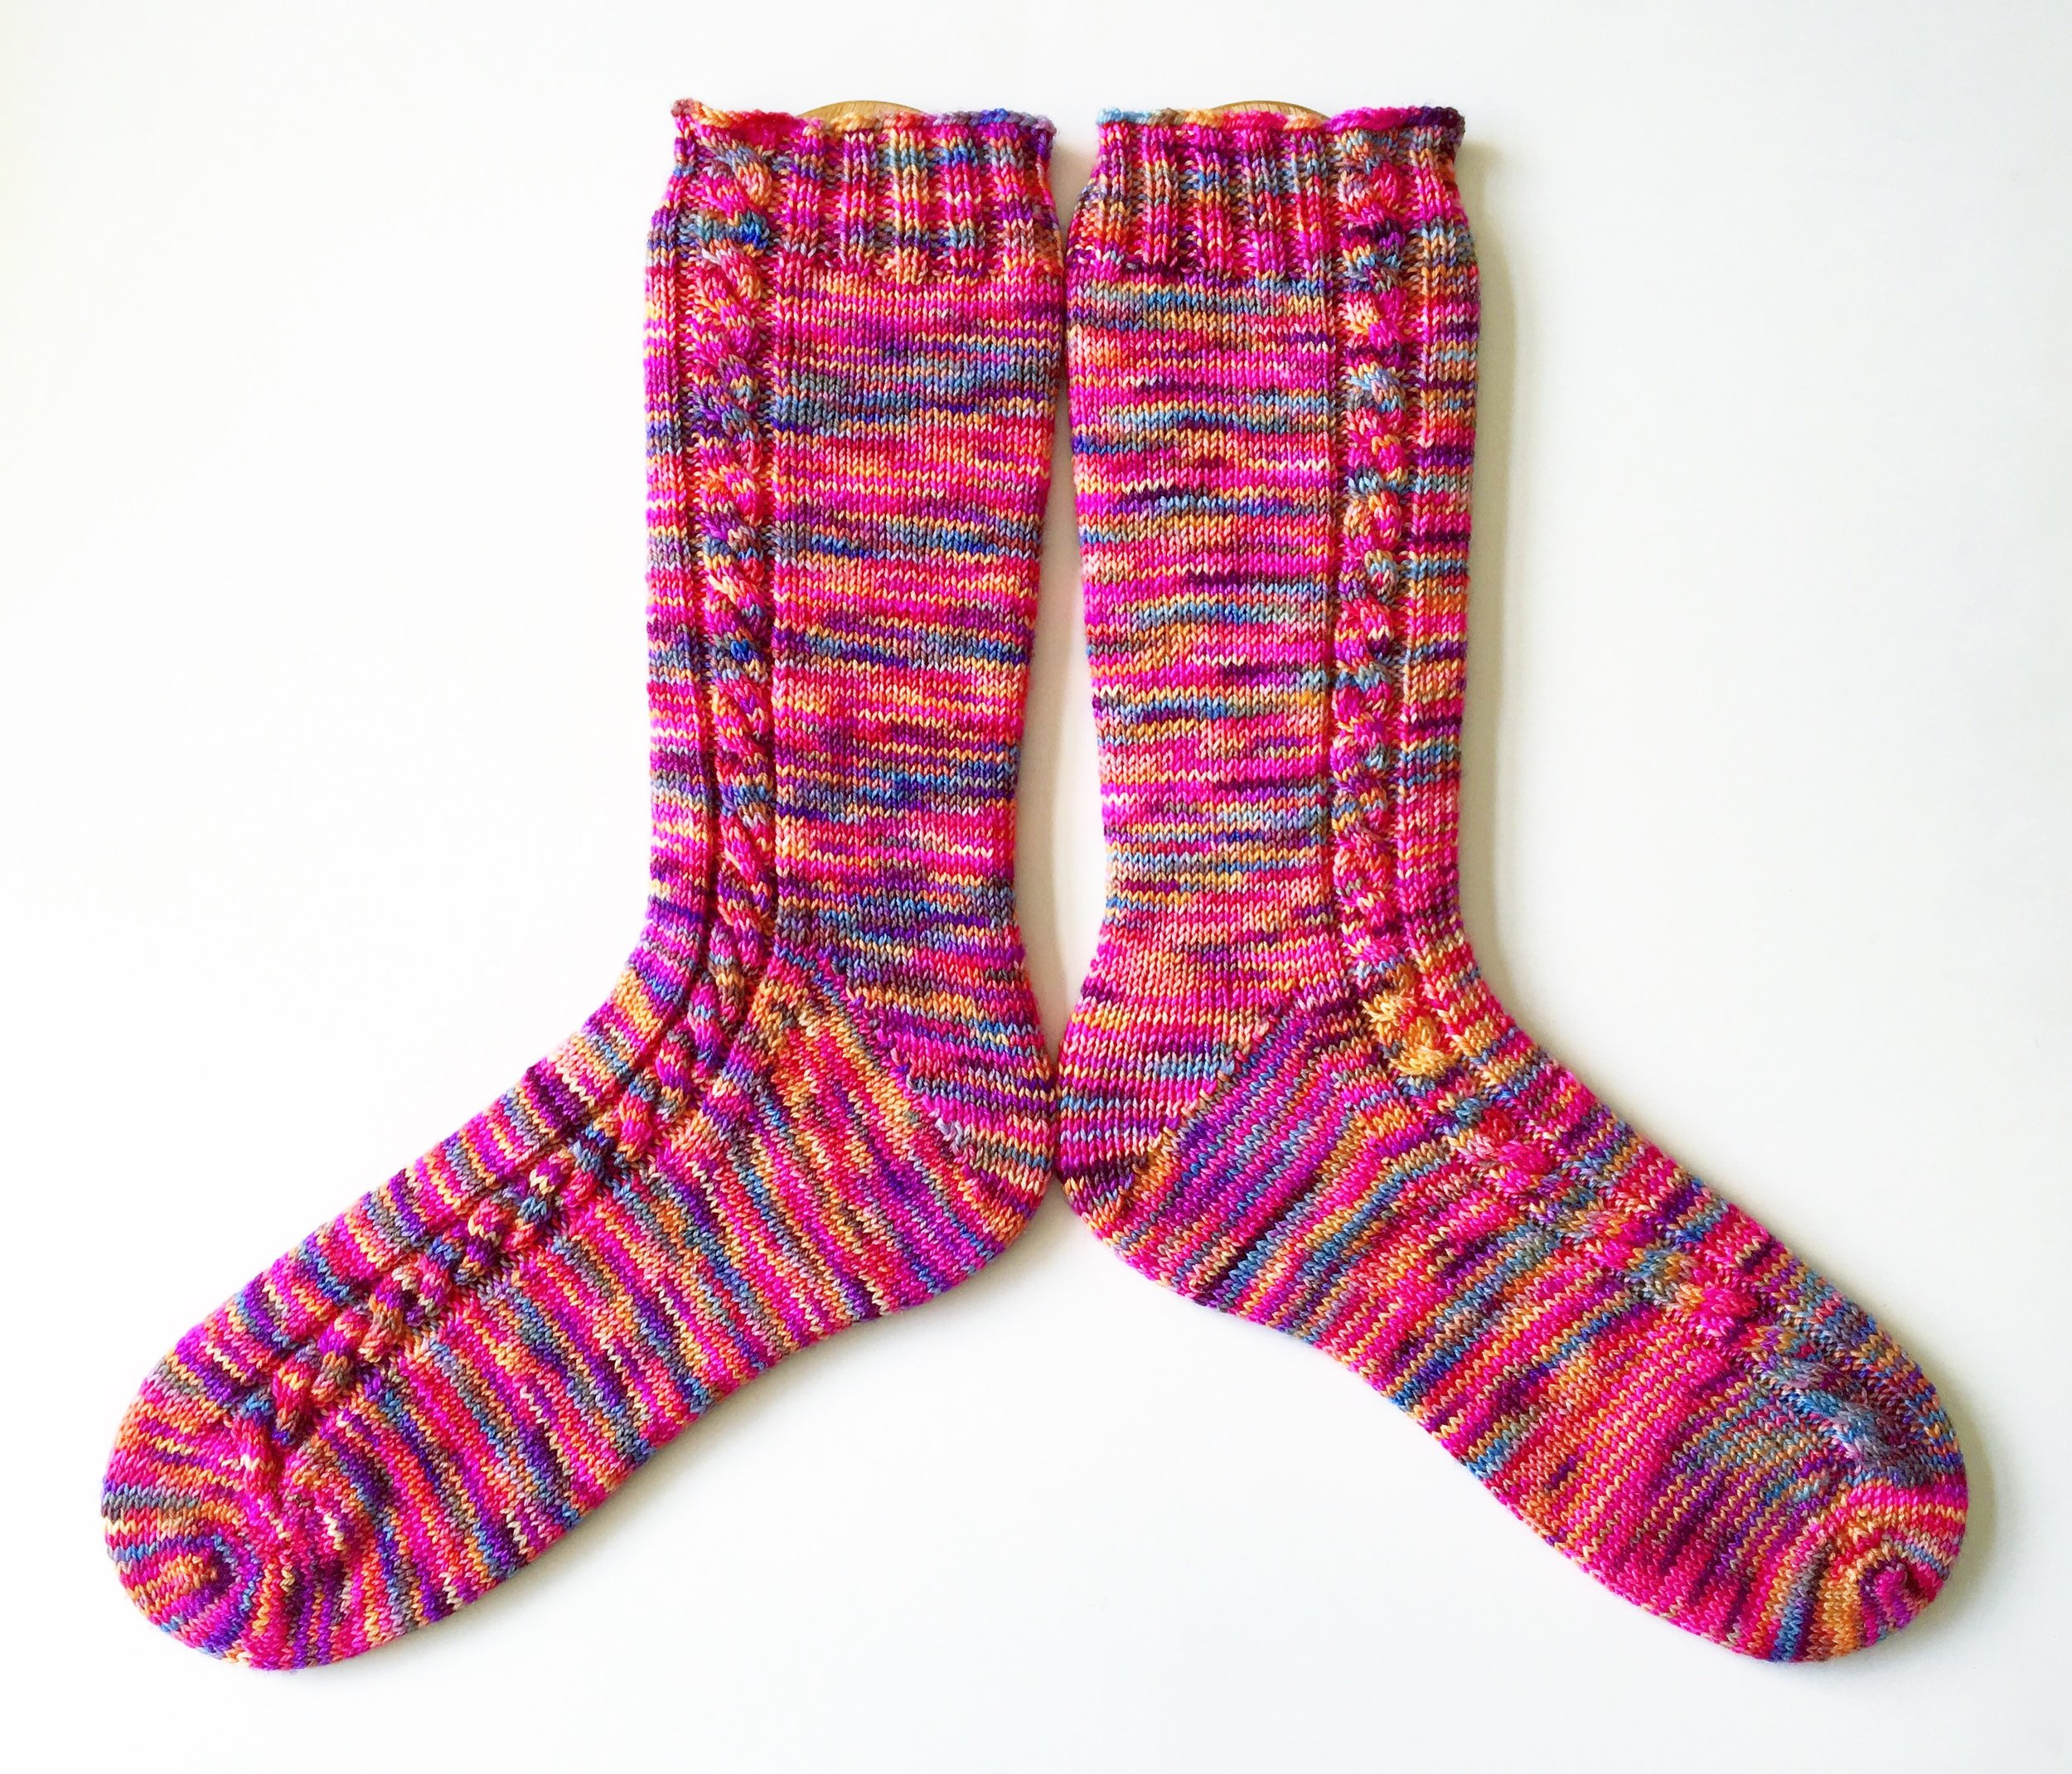
If you want to experiment with color, you can use a contrasting yarn for the toe section, the heel turn, and the cuff as shown here in our "Safety Third" sock pattern.
Step Eight: The Leg! You're in the home stretch, and it's smooth sailing from here:
-
Resume working stockinette in the round (knit every stitch). If you find that there's a big gap between the needles you've been making the heel turn on and the top of the foot, find the strand that is being stretched out, and using a small crochet hook or a DPN, pick up the strand, twist it once so it makes a loop, put it on your right hand needle, and knit it together with the next stitch.
-
Work the leg until it measures 1.5 inches shy of the desired top length. Feel free to try on the sock periodically to see how tall it will be - just spread your stitches out on your needles and slide it on and off gently & carefully.
Step Nine: The Cuff! This last step is a cinch:
-
Work in K2, P2 ribbing for 1.5 inches.
-
You must cast off VERY loosely and in pattern (knit the knits and purl the purls), or use a special stretchy bind-off, which you'll still want to knit very gently/slightly loose. One of our favorites is linked here: https://www.thesprucecrafts.com/stretchy-bind-off-stich-knitting-tutorial-2115677 , and if your lower calf is a fair bit larger than your ankle, the stretchiest bind-off we know of is this one: https://knitty.com/ISSUEfall09/FEATjssbo.php
-
Weave in your ends and you're done! Well, except now you get to do it all over again for sock number two… Makes for good practice! You'll find the second sock will go much faster now that you know what you're doing!
Bonus: Adding stitches for larger calves! If you want to add some increases for a larger calf measurement, you want to start after you finish the heel section.. Measure your calf circumference and subtract two inches (you want the top to be a little tight so they don't fall down). From that measurement, subtract your foot circumference from up in step one. Since you know your gauge is 7 stitches to the inch, you can multiply the number you get by 7 to figure out how many stitches you need to add. It's best to add stitches at the sides of the sock, at the beginning of needle 3 and the end of needle 4, starting about an inch below where your calf starts to increase in size. Use this method for nearly-invisible increases (sometimes called a lifted increase or a knit one from the row below): https://techknitting.blogspot.com/2007/05/very-nearly-invisible-increase.html. Knit one stitch plain before and after you increase, and try to space them evenly every few rows (you can measure your row gauge and do a little math), or up to every other row if you have a large number of stitches to increase.
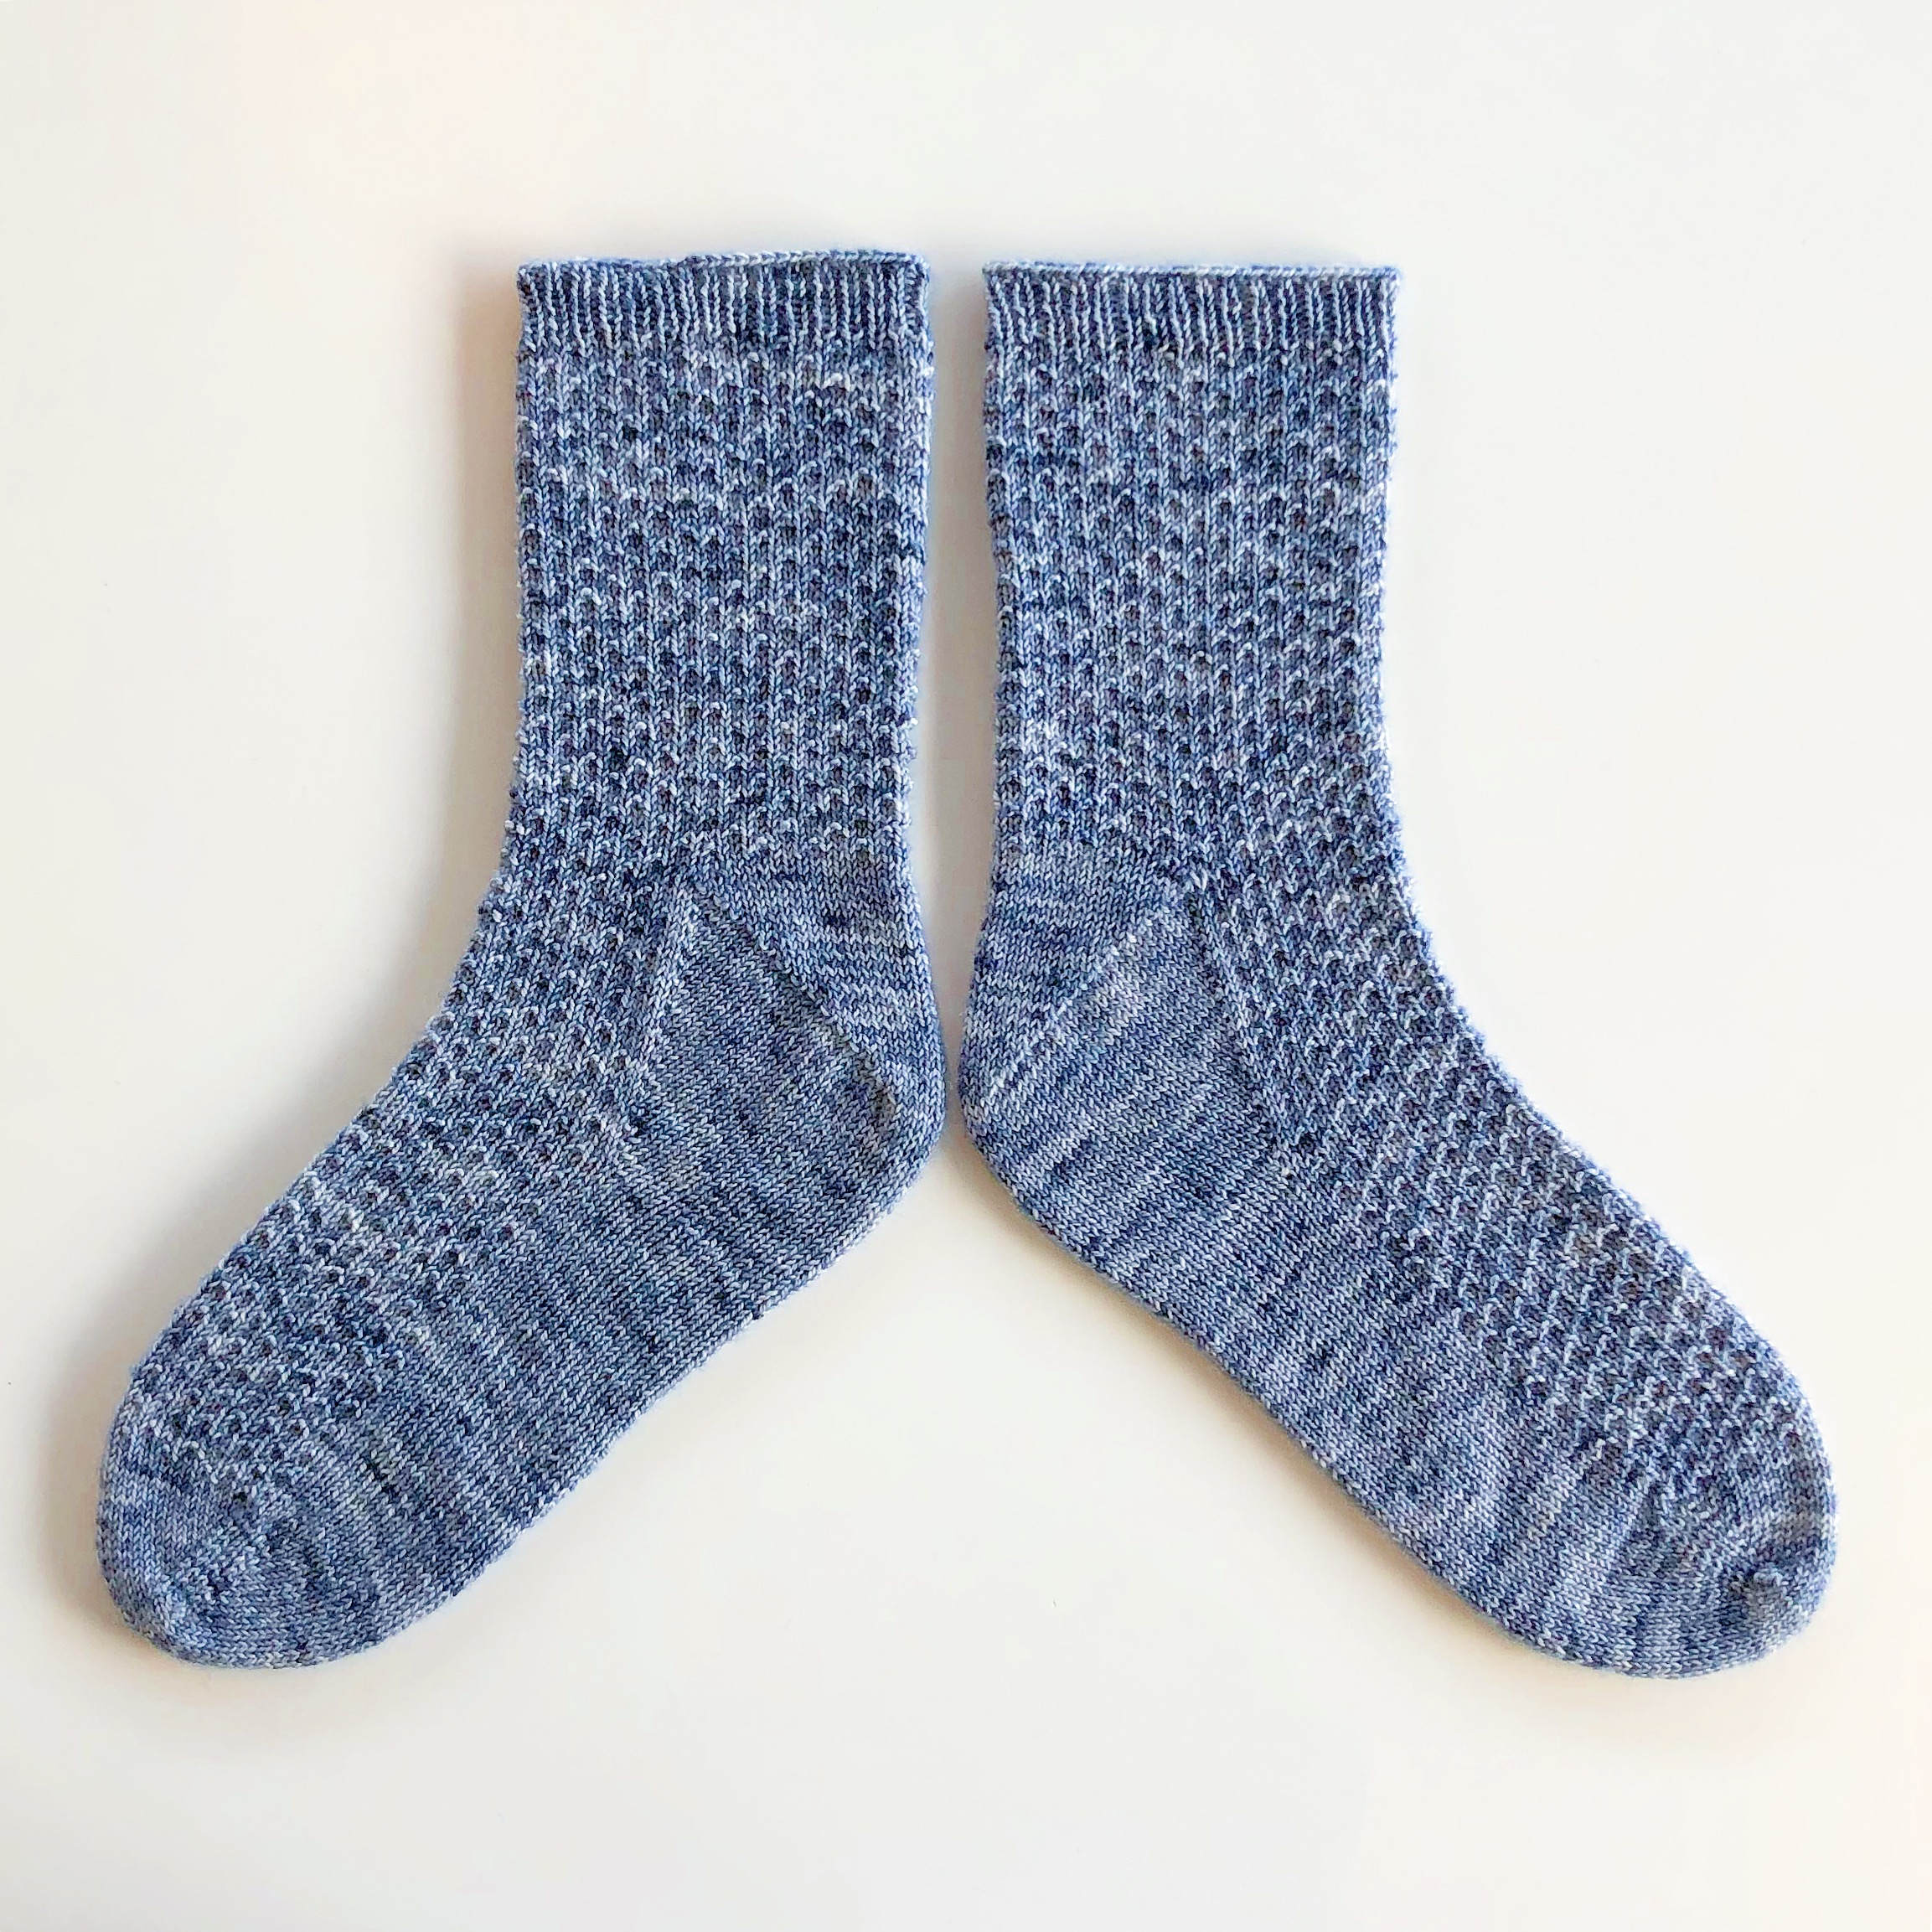
Bonus: Get Creative! With this vanilla sock pattern you can incorporate any number of fancy stitches or cables on the top of the foot. Simply start after you finish your toe increases, and give yourself a little buffer by knitting the first 2-5 stitches (depending on the width of your chosen decorative stitch) on needle 1 before you start the pattern, and the last 2-5 stitches on needle 2 after your last repeat. Try seed stitch, moss stitch, a simple yarn-over & k2tog lace pattern, or anything you want! Be sure that you're always knitting stockinette on needles 3 and 4 for the soles of the feet. Take it to the next level by figuring out how to make the pattern continue onto the back side of the leg section smoothly (a great practice in charting). Try changing up the length and type of ribbing too!
Free Very Pink Toe Up Sock Pattern
Source: http://blacksquirrelberkeley.com/blog/tutorial-favorite-toe-up-sock-recipe
0 Response to "Free Very Pink Toe Up Sock Pattern"
Post a Comment